The LearnWorlds Course Hub allows you to publish courses as Public (visible in the catalog) or Private (accessible only via direct link). Private listings are ideal when you want to license a course to a specific school without making it discoverable in the public Course Hub catalog.
In this guide, you’ll learn how to publish a course as Private, how to share it, and how Buyers can license it.
When to use private listings
Private listings are useful when:
- You have a direct agreement with a specific school
- You want to test licensing with a partner before going public
- You want to distribute specialized content to selected clients
- You do not want the course discoverable in the public marketplace
How to publish a course as private
You can set a course as Private during the listing process or after it has been created.
1. During the Course Hub wizard
- Go to Courses & Programs → Course Hub
- Click List a course
- Follow the listing steps
- In the Pricing & Visibility step, select Private
2. Submit the course for review
After the course is listed go to Course Hub → Published courses → Click Manage listing and change the visibility setting from Public to Private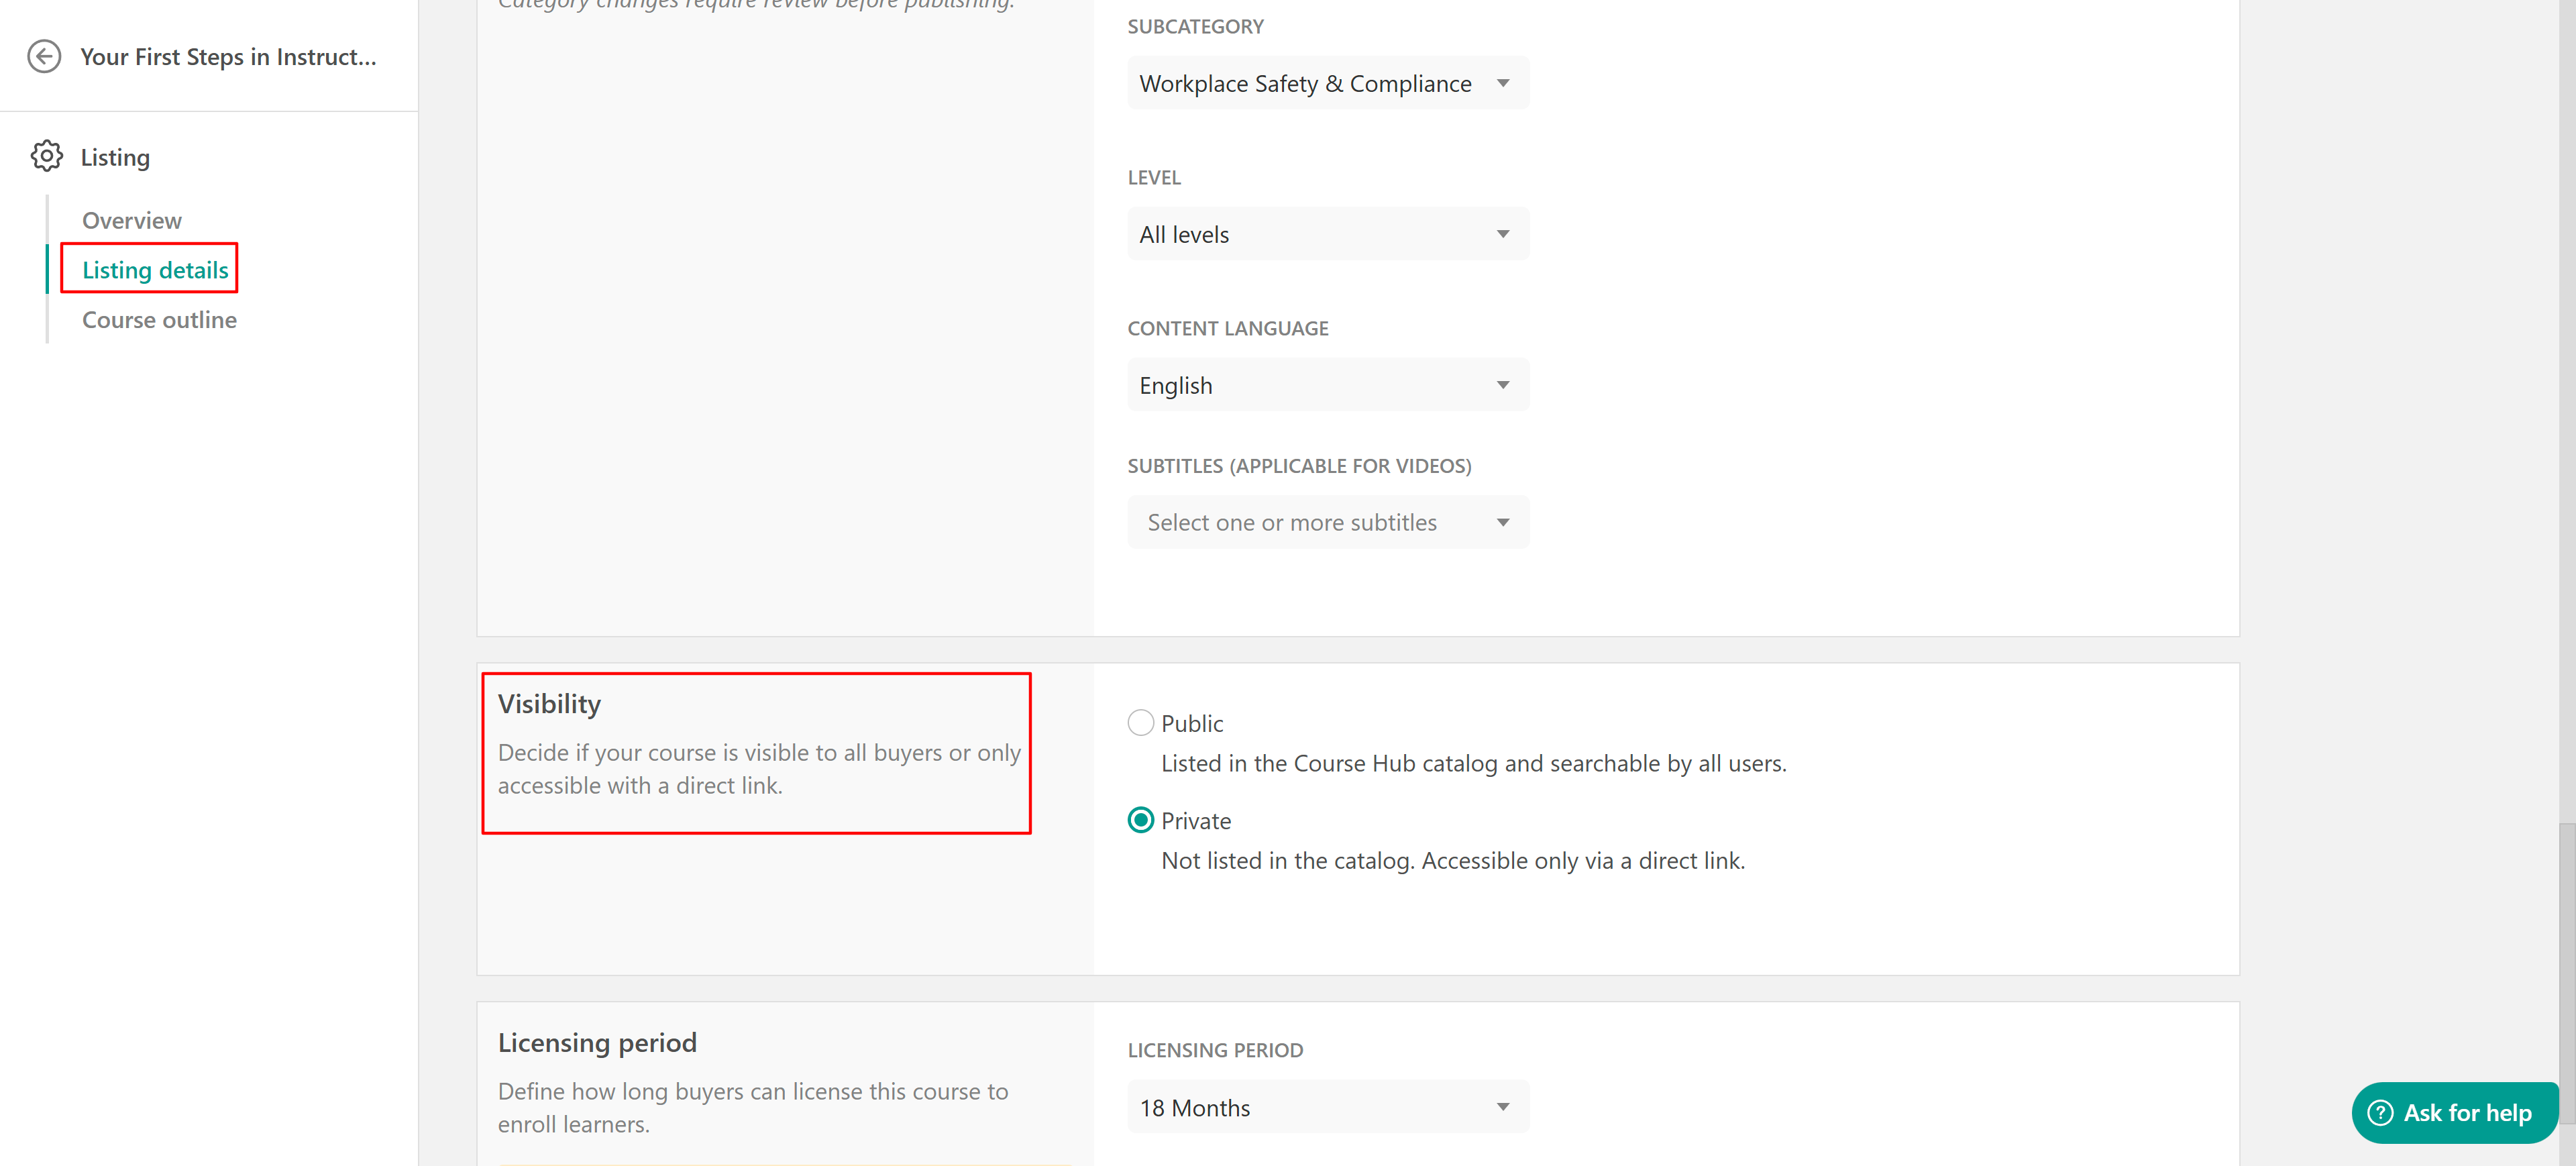
Make sure to save your changes.

- If the course is already published, changing visibility does not affect existing licensing agreements.
- To license a private course, the Buyer must have an active LearnWorlds school. Private courses cannot be licensed by users who do not have a LearnWorlds account.
What happens when a course is private?
When a course is set to Private:
- It does not appear in the Course Hub catalog
- It cannot be found through search or filters
- It is accessible only via its direct listing URL
All other Course Hub rules remain the same:
- The course still goes through the review process
- Licensing period rules apply
- Buyers are billed per enrollment
- Billing cycles and commission rules remain unchanged
- Content protection rules still apply
The visibility setting affects discoverability only, not how licensing works.How to share a private course
Once your course is approved and published:
- Go to Courses & Programs → Course Hub.
- Open the Published courses tab and locate your course.
- Click Copy listing URL
- Share the link directly with the Buyer
Only users with the link can access the listing.
How buyers license a private course
When the Buyer opens the private link the process is the same as with a public course.
- They review the listing details
- Click License
- Add or confirm billing and payment details
- Accept the Terms & Conditions
- Click Confirm
Once confirmed the course is downloaded into their Course Manager as a Draft. They can configure course settings and begin enrolling learners.
Licensing and billing work exactly the same as with Public courses.
Changing visibility later
You can switch between Public and Private at any time.
Changing visibility:
- Does not affect active licensing agreements
- Does not remove learner access
- Does not change pricing or licensing period
- Only affects whether the course appears in the public catalog